Things have been pretty crazy around here lately. I have a show that hangs on May 1st that I am frantically trying to get ready for. I have also been working on two wedding albums, shooting portrait sessions, marketing stuff, and the list goes on and on. I will post more images shortly as I get caught up a bit, but for today I wanted to pass on a little Photoshop tip.
Have you ever wanted to put a vignette on an image, but when you do the vignette you get banding in the image? If you have, here is a technique that works really well, and I have never had the banding problem with it. The key is in how you feather the selection.
Open an image and with the marquee tool make a hard edged selection. To make this selection make sure that feathering is set to 0 pixels.
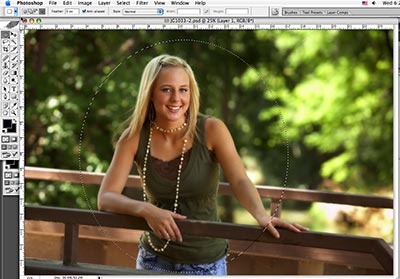 |
Enter Quick Mask mode by pressing the “Q” key, then do a Gaussian Blur. This way, instead of guessing how much feather to use you can visually see what the feathering will look like. On a high resolution file I typically use a setting of 120-150 pixels. If the feathering goes too far, you can then “Clean up” the mask with the brush tool.
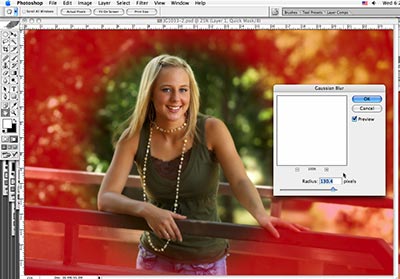
|
Exit Quick Mask by again pressing Q. Invert the selection, copy to a new layer(Cmd-J / Ctrl-J), then choose Image>Adjustments>Levels and drag the midpoint slider to the right to get the desired effect.
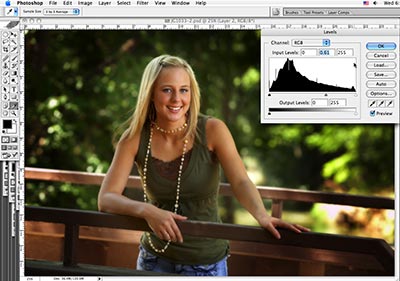
|
Here is a before and after to show the result. This technique works well anytime you need a feathered selection and don’t know for sure the amount of feathering needed.
Before: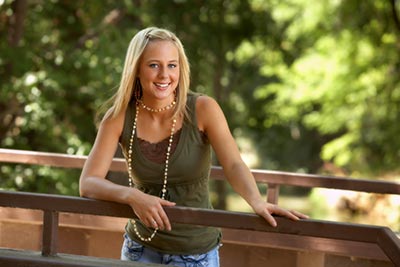
|
After:
|
The changes on this particular image are subtle, but the technique can drastically change the feel of many images.
Recent Comments